Uploading Portraits
Adding Portraits for Use in Your Yearbook
To import your portraits into Pixami, first make your portrait package available on your computer. If your portrait studio send you a .zip file via a download link, unzip the package so you can access the photos and data file. If your portrait studio provided a cd, insert it into your CD drive, and copy the contents of the CD to your hard drive.
Click the Portraits tab on the Photos page. Click the Portrait Import button at the top of the Portraits tab.

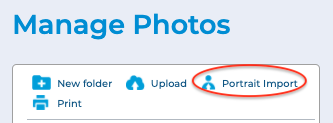
The Portrait Import dialog will launch
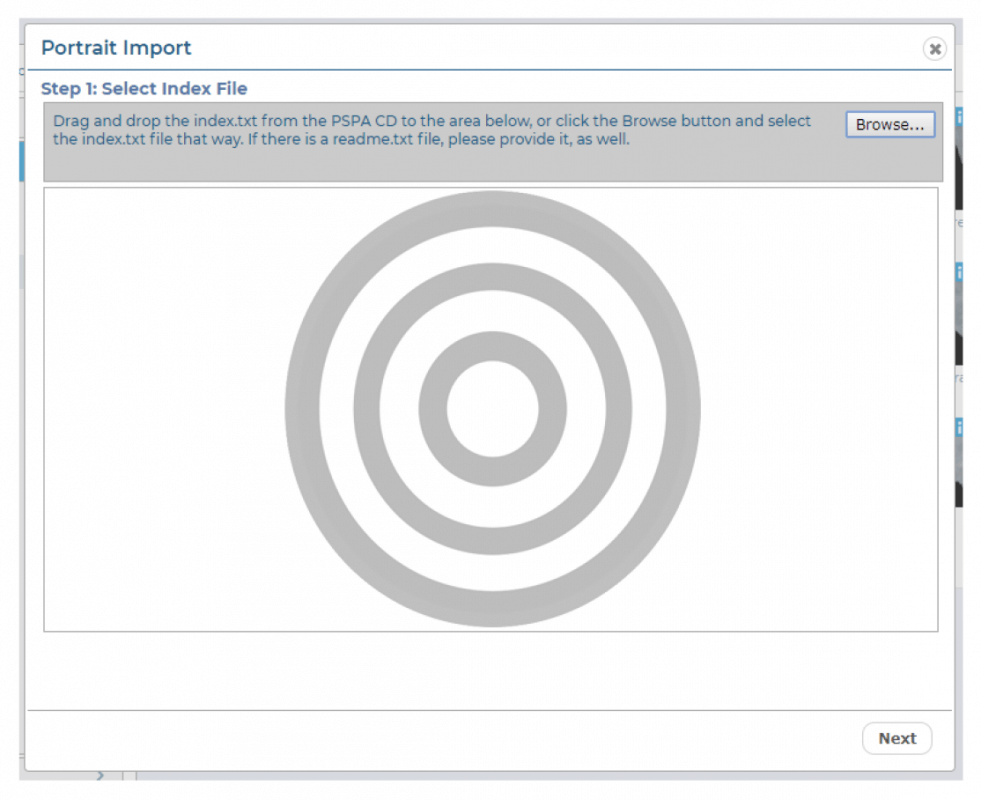
Step 1: Select Index File
The first step to uploading portraits is to upload your PSPA Index file, which contains an index of all of the files on the CD. The file may be named index.txt or something similar.
Click Browse, locate the folder that contains the index file, and then click OK. Or, you can drag and drop the file directly from your hard disk onto the target in the uploader.

Click Next.
Step 2: Define Index Layout
The contents of the index file will be displayed in the Portrait Import dialog.
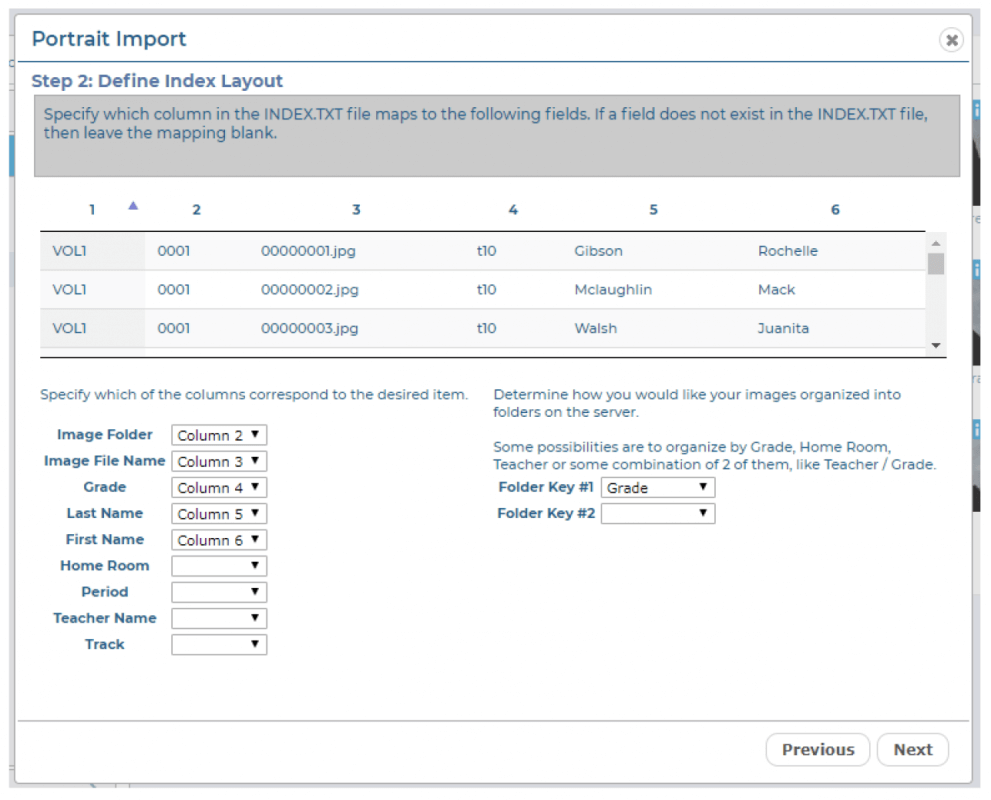
The contents of the index file will be organized into columns. Use the dropdown menus to specify the columns that correspond to the contents of the index.
Using the example above as a reference, you can see that Column 2 lists the name of the Image Folder, Column 3 lists the Image File Name, Column 4 lists the Grade, Column 5 lists the Last Name, and Column 6 lists the First Name.
Use the Folder Key menus to specify how you would like your portraits organized in the software.
For example, if you choose Grade, your portraits will be placed in folders according to the grade of the students. If you choose Teacher, the portraits will be placed in folders according to teacher.
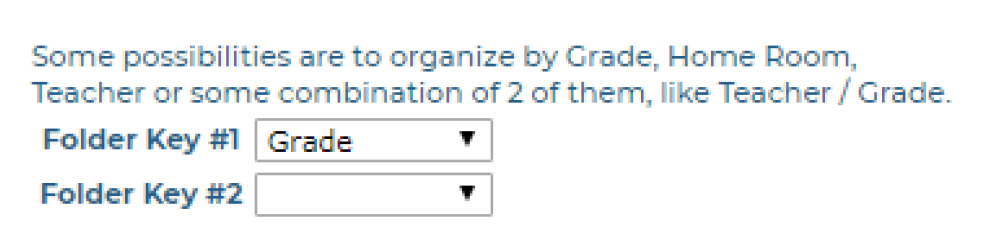
You can choose more than one Folder Key based on the information available in the index file. For example, if you choose Teacher for Folder Key #1, and then Grade for Folder Key #2, portraits will be organized in folders labelled Grade/Teacher.
Once you have made your selection, click Next.
Step 3: Add Portrait Files
If the software could not find them, you may be prompted to locate and add your portrait files.
Click Browse, locate the portrait files on the CD or your hard disk, select them, and then click OK.
Or, you can drag and drop the files directly onto the target in the uploader.
Click Next.
Step 4: Select Portraits to Upload
The list of portraits will be displayed in the Portrait Import dialog
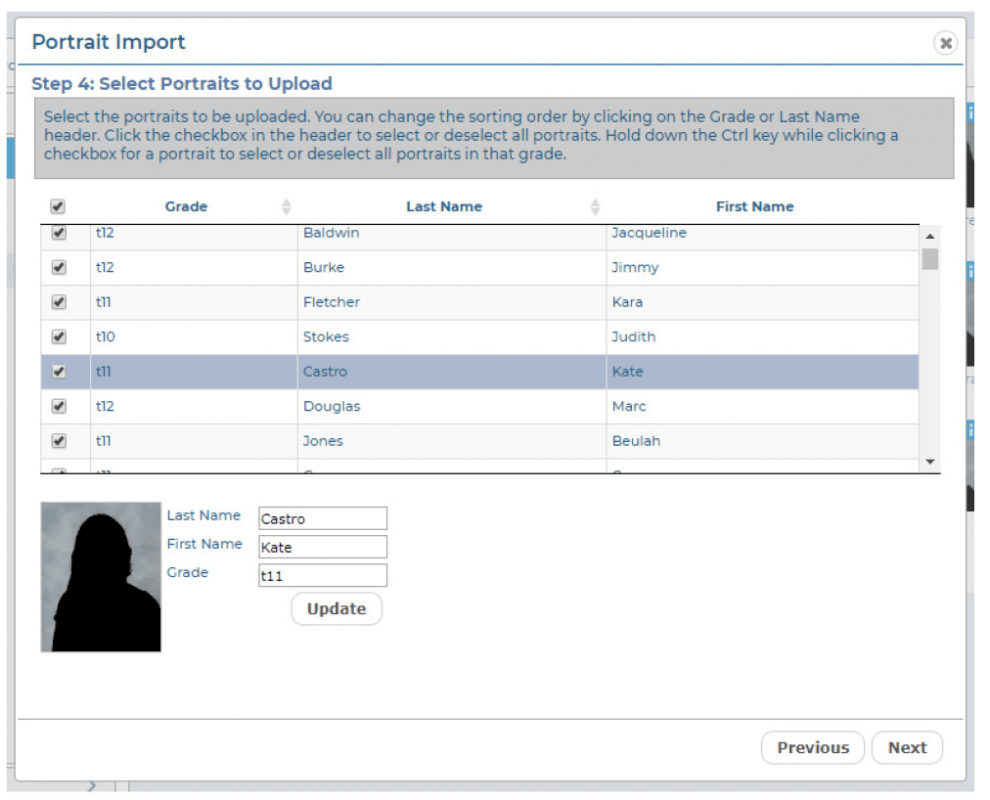
Your portrait photos will be listed according to the columns you specified on the previous screen.
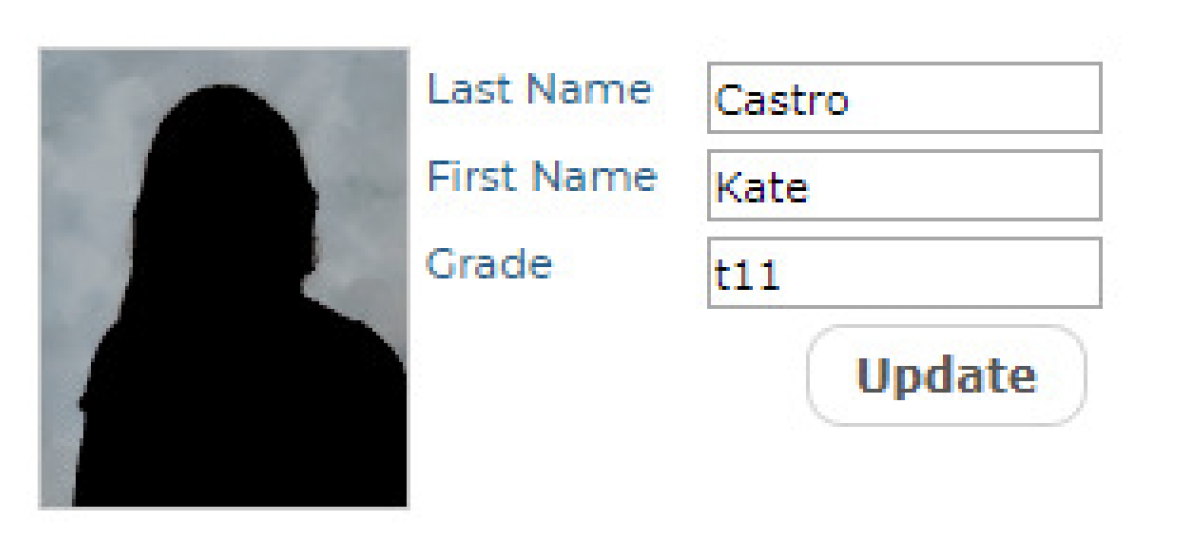
You can edit any mistakes by clicking on the specific portrait, and making changes in the Last Name, First Name, and Grade fields at the bottom of the screen. Click Update after making any changes.
Click the Grade heading at the top of the column to sort the portraits by grade. Click the Last Name heading at the top of the column to sort the portraits by name.
Next, select the portraits you would like to upload. To select all portraits, click the checkbox at the top of the first column. Click the checkbox again to deselect all of the portraits.
To select individual portraits, click the checkbox next to each portrait that you would like to upload.
To select an entire Grade, hold the Control Key on your keyboard, then click the checkbox next to a portrait for the grade you want to select. All portraits for that grade will be selected.
Click Next.
Step 5: Review Upload Folders
You will be prompted to review and confirm the portrait folders as a final step.
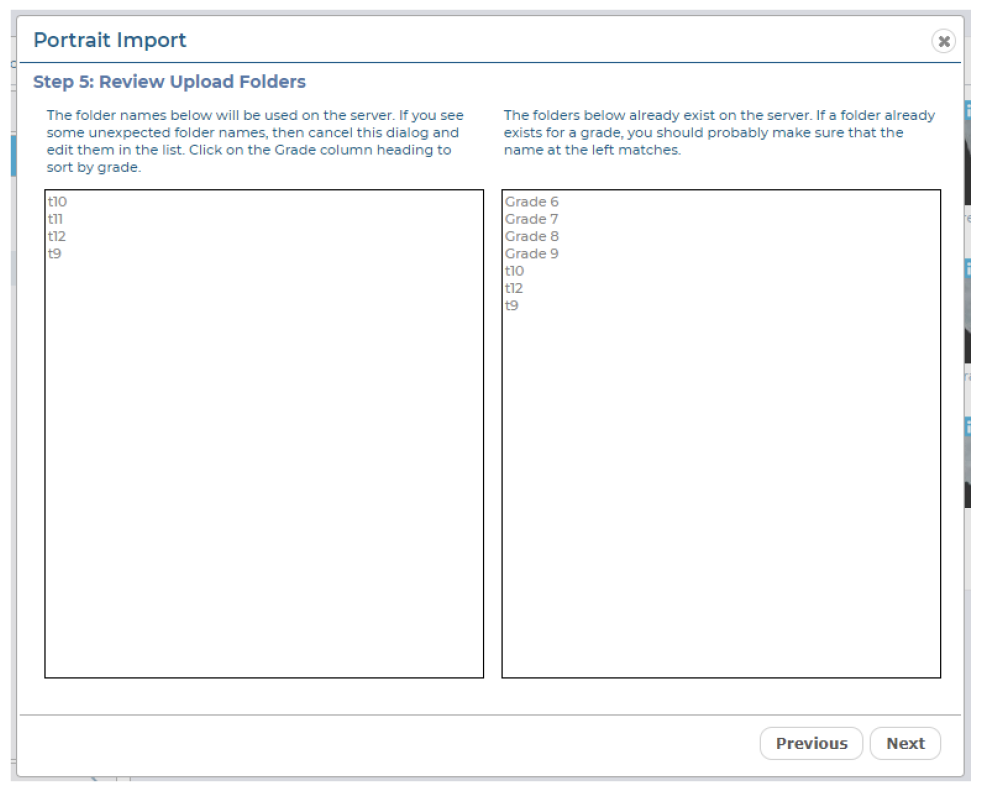
The folder names to the right represent portrait folders that already exist in the software from any previous portrait upload sessions. (This will be empty if this is your first upload of portraits). The folder names on the left represent the new folders that will be created for this upload.
Review the information to confirm that it is correct.
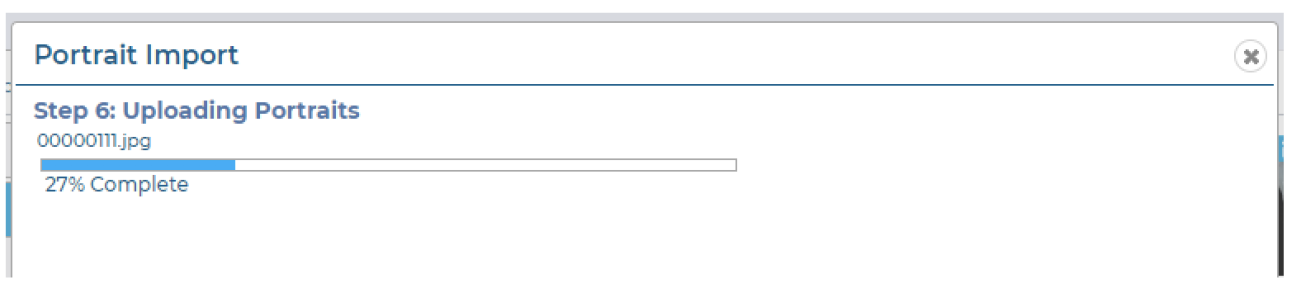
Click Next. The upload process will begin.
You will see a progress bar while the portraits are being uploaded. Once the upload is complete, the Portrait Import dialog will close and you will be returned to the Portraits tab on the Manage Photos page.
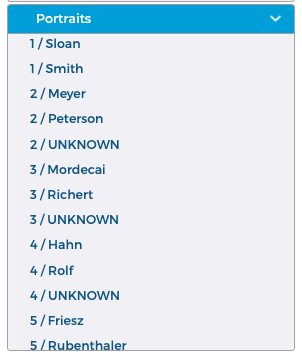
You should see your new portraits organized in folders in the Portrait Folders section of the Portraits tab.
TIP: If you have uploaded a large amount of portraits it may take a few minutes for them to display after the Portrait Import dialog has closed. If they still do not display after a few minutes, try refreshing your browser. You may also need to clear your browser cache in order to force it to load a new page