Photo Post
Using Photo Post to Collect Photos
Photo Post is a feature that allows you to obtain candid photos and portraits, through a secure web page, from your school community of students, parents, teachers and supporters. You will be able to review submitted photos, and select any that you would like for inclusion in the yearbook.
Photos can be submitted via PhotoPost form any supported browser on any supported device, including Windows, Mac, Apple iOS, Chrome OS and Android OS.
Tip: Photo Post is a great way to obtain additional candid and portrait photos for your yearbook from students, families and other supporters!
Photo Post must be enabled in order to be used. If you do not see a Photo Post tab on your Photos page and would like to use it, contact your Administrator or Yearbook provider.

Inviting Someone to Submit Photos
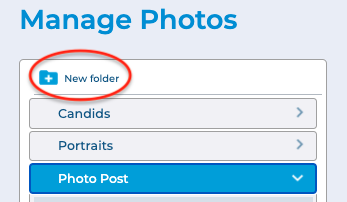
To invite someone to use Photo Post, click on the Photo Post tab, then click New folder to add a new folder for your photos. Enter a name for the folder when prompted, then click OK.
Next, click the Invite button in the toolbar to invite someone to submit photos to your folder.

The Invite dialog will appear.
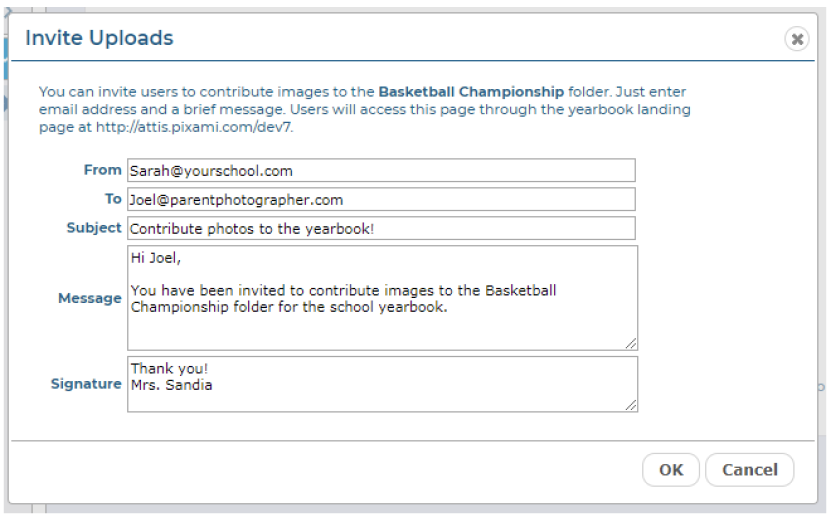
Type your email address, the email address for the recipient, a subject, message, and signature into the appropriate text fields. Then click the OK button. The email will be sent to the recipient, along with a link to a secure page where they can click Upload to upload their photos.
Note: Photo Post users will not be able to see other user’s photo submissions, or any yearbook photos, or access the yearbook software.
Other Ways to Use PhotoPost
You can also e-mail the PhotoPost link directly to users from your e-mail account, from an email marketing application such as Constant Contact, or post it to your school’s website.
Anyone with the link will be able to upload photos to the site.
To obtain the link for your site, click the Invite button, and add your own e-mail in the To field.
Then click OK to send the email. You will receive an email with a link that you can use to direct users to PhotoPost.
Choosing Photos for Your Yearbook
Once photos have been submitted using Photo Post, they will appear in their respective folders on the Photo Post tab.
To preview and scroll through your submitted photos in a larger window, click the Preview/Info icon, at the top right of the photo thumbnail. The Preview dialog will open.
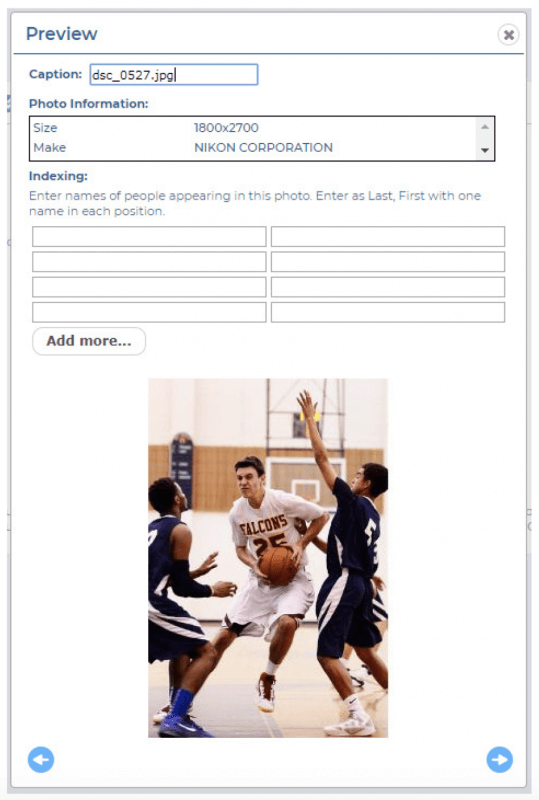
Click the Left and Right arrows to scroll through all of the photos in the current folder.
In order to use submitted photos in the yearbook, you will need to move them to a Candids or Portraits folder. You can select a photo by clicking it, or by clicking the checkbox below it.
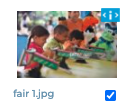
A checkmark will appear to indicate that the photo has been selected. Deselect a photo by clicking it, or the checkbox, again.
You can also select multiple photos at a time.
Next, use the features on the toolbar to move or organize the photos.

Click Select All to select all of the photos in the current folder.
Click Deselect to deselect all photos in the current folder.
Click Move to move the currently selected photos to a folder on the Candids or Portraits tab.
The Move selected photos dialog will appear. Select the appropriate folder for the photos, then click OK. Your submitted photos have now been moved, and are ready to be used in your yearbook!
After you’ve moved the photos that you’d like to use in your yearbook, it’s recommended that you delete any submitted photos that you do not plan to use. Click Delete to delete the currently selected photos.
Click the Delete folder icon to delete the folder.