Clip Art
Adding Clip Art to Your Pages
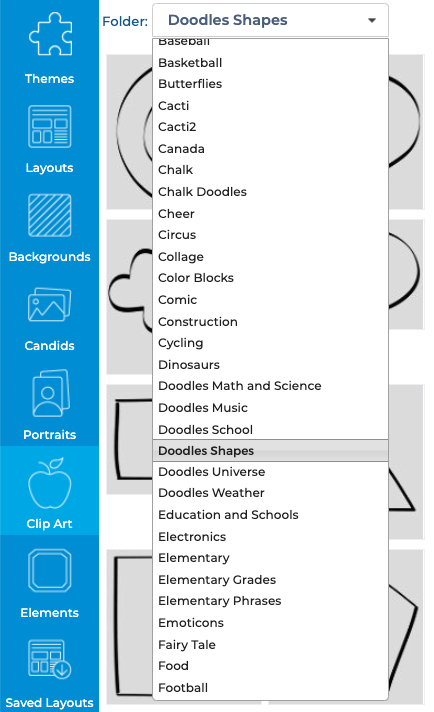
The Clip Art tab contains a wide selection of clip art, organized into numerous subjects, that can be used to enhance your page designs.
Click on the Clip Art tab, and then use the Category menu to browse and view the available clip art.
To add clip art to the page, select a thumbnail, and drag and drop it from right to left onto the page. You can then click and drag it to position it on the page.
Click and drag the handle on any corner of the clip art frame to scale to a larger or smaller size.
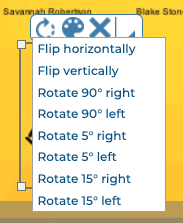
When you click to select a clip art object, you will see the Editing Toolbar.

Click the Rotate icon, then select an option from the dropdown menu, to flip or rotate the clip art.
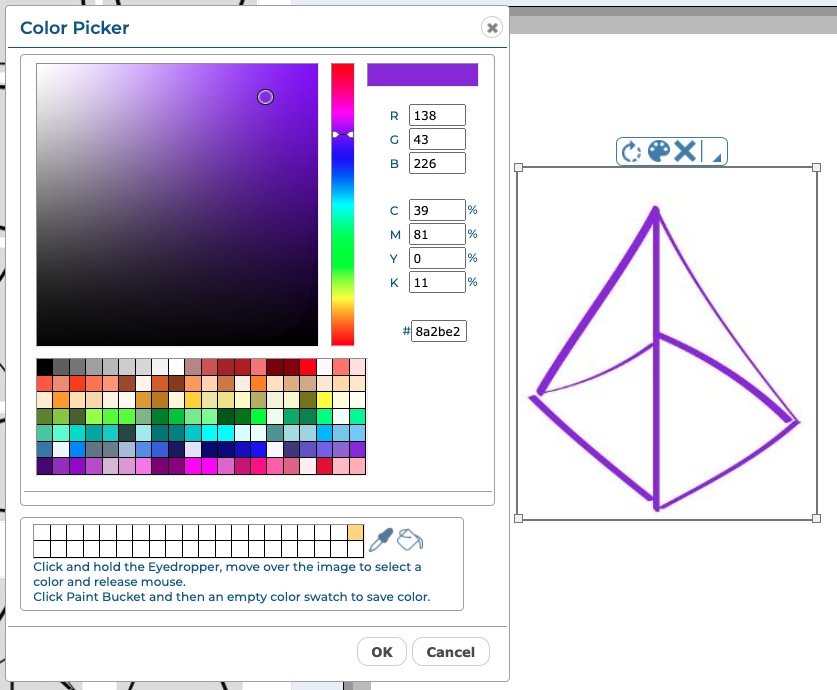
Click the Colorize icon to launch the color picker and change the color of your clip art. You can select a color from the available swatches, type in your own RGB or CMYK value, or use the eyedropper to select a color from your page. Click OK to apply the currently selected color to your clip art.
Click the Delete icon to delete the clip art.

Click the More arrow, then select Duplicate from the menu to duplicate the clip art.
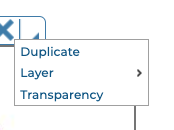
Click the More arrow, then select from the Layer menu to move the clip art forward or backward with relation to other items on the page.
Click the More arrow, then select Transparency to use the slider to change the opacity of the selected piece of clip art.
