The Effects Tool
Applying Effects Using the Effects Tool
Click on the Effects tool to choose image filters or special effects to apply to the photo. A dropdown menu will appear with several options organized into submenus. Select your option from the menu. Your selection will be automatically applied to the photo.
Select Sharpen to sharpen the edges of your photo.

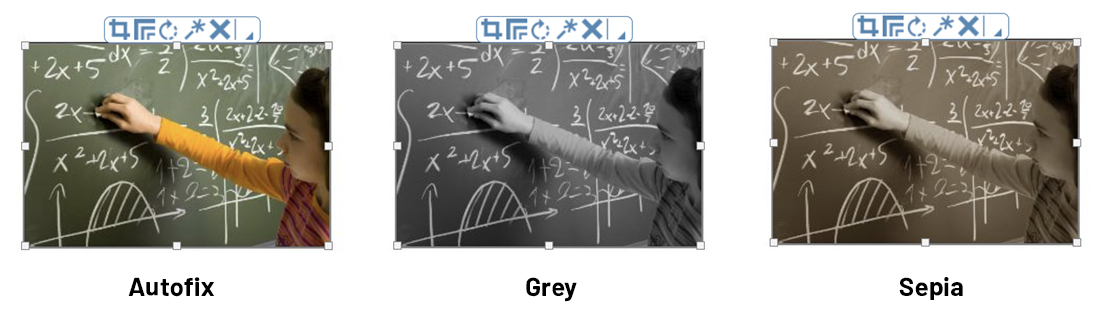
Select from the Image Effects menu to apply global effects such as AutoFix, Grayscale, and Sepia. To remove the filter, select None.
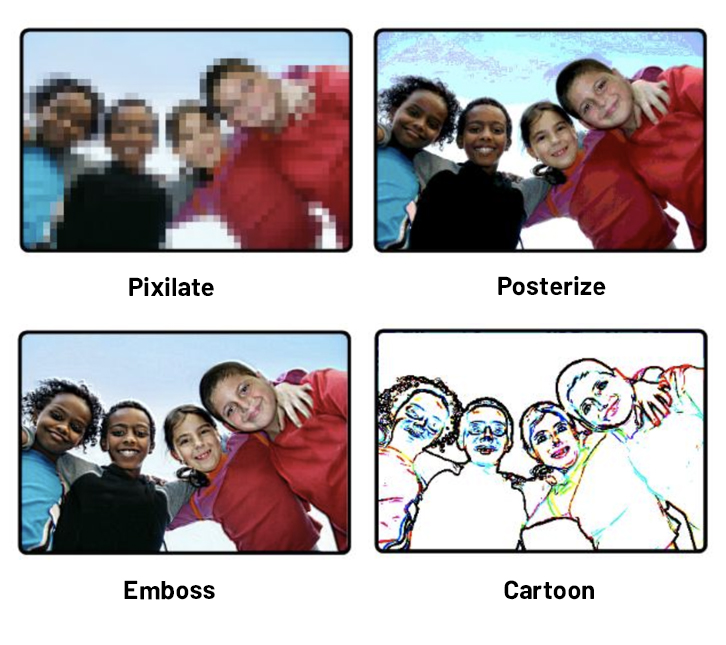
Select from the Image Filters menu to apply special effects filters such as Pixellate, Posterize, Emboss and Cartoon. To remove the filter, select None in the menu.
Select from the Image Fill menu to adjust the placement of the photo in the frame.
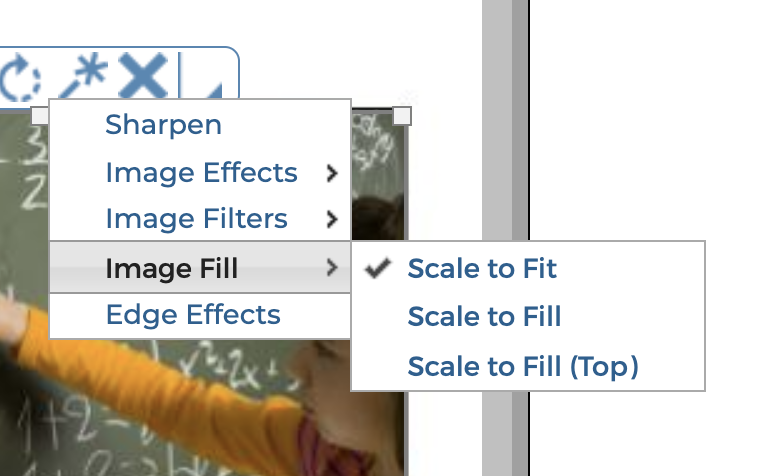
The Scale to Fit option will fit the entire photo in the frame, even if the frame has a different aspect ratio.
The Scale to Fill option will fill the frame with the photo, from the center out. If the frame has a different aspect ratio than the photo, the photo may be cropped equally on all sides to fit the frame.
The Scale to Fill (Top) option will fill the frame with the photo, from the top down. If the frame has a different aspect ratio than the photo, the photo may be cropped on the bottom and sides to fit the frame.
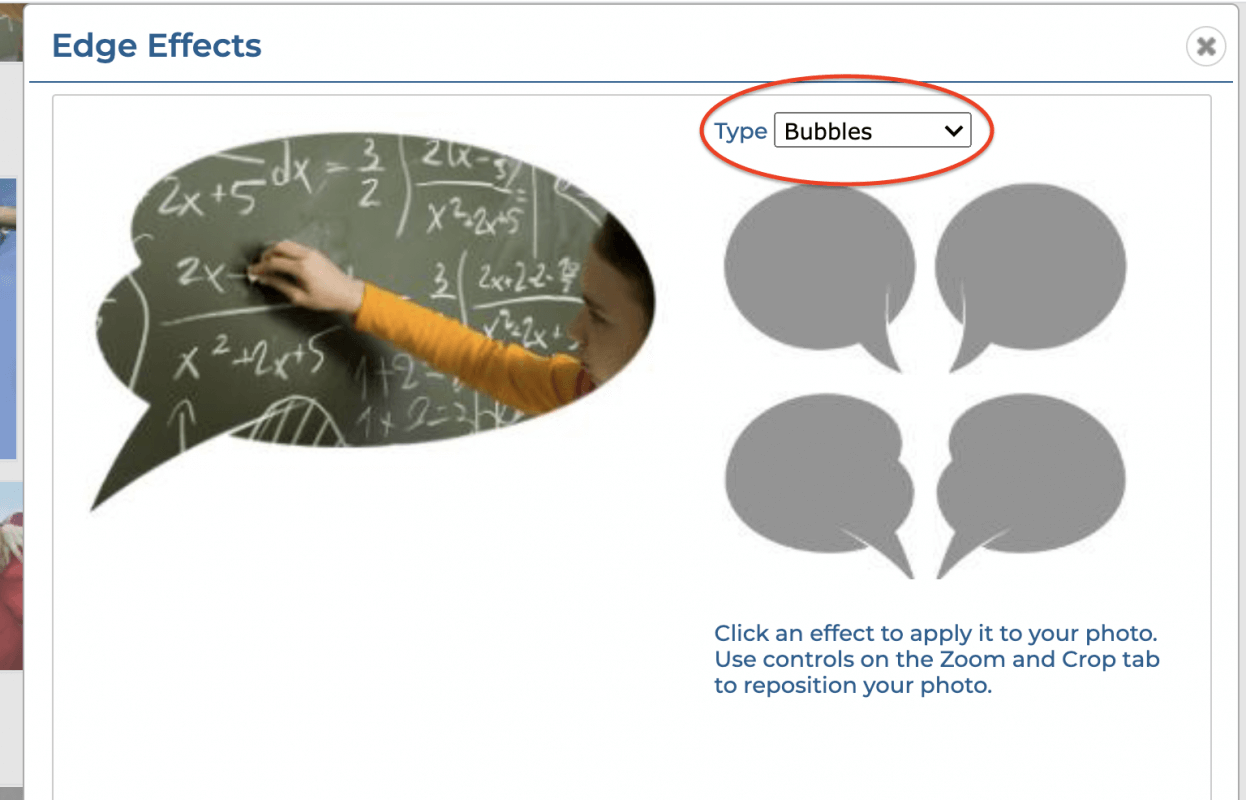
Select Edge Effects to apply edge effects and frames to the photo. The Edge Effects dialog will appear.
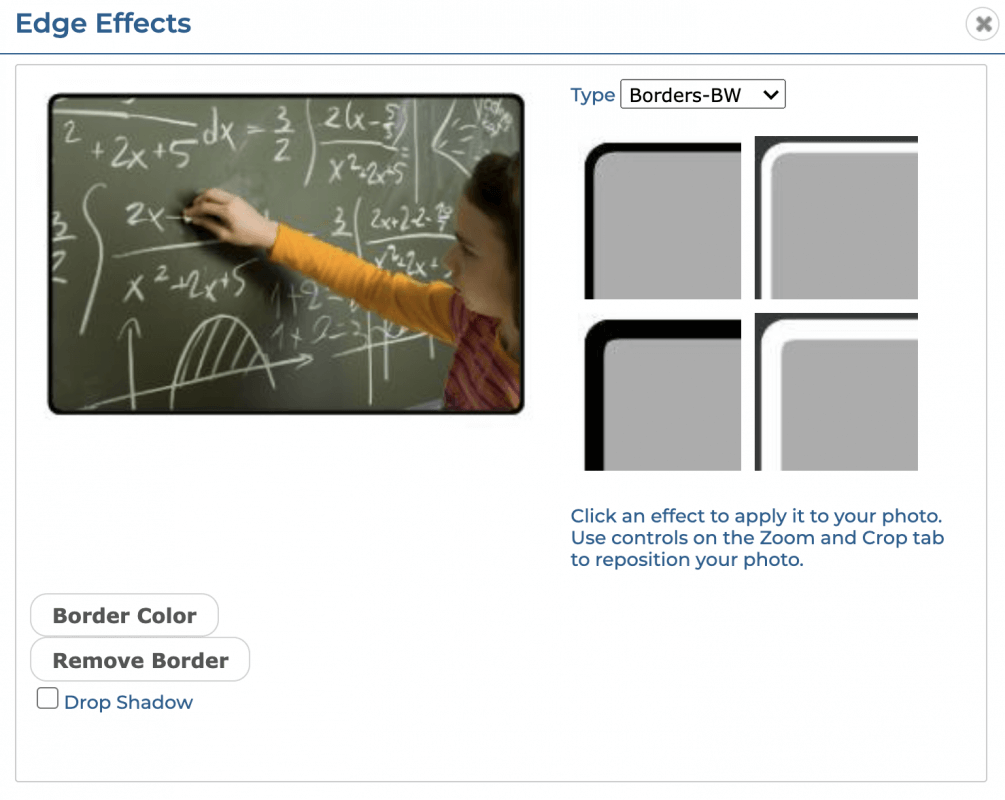
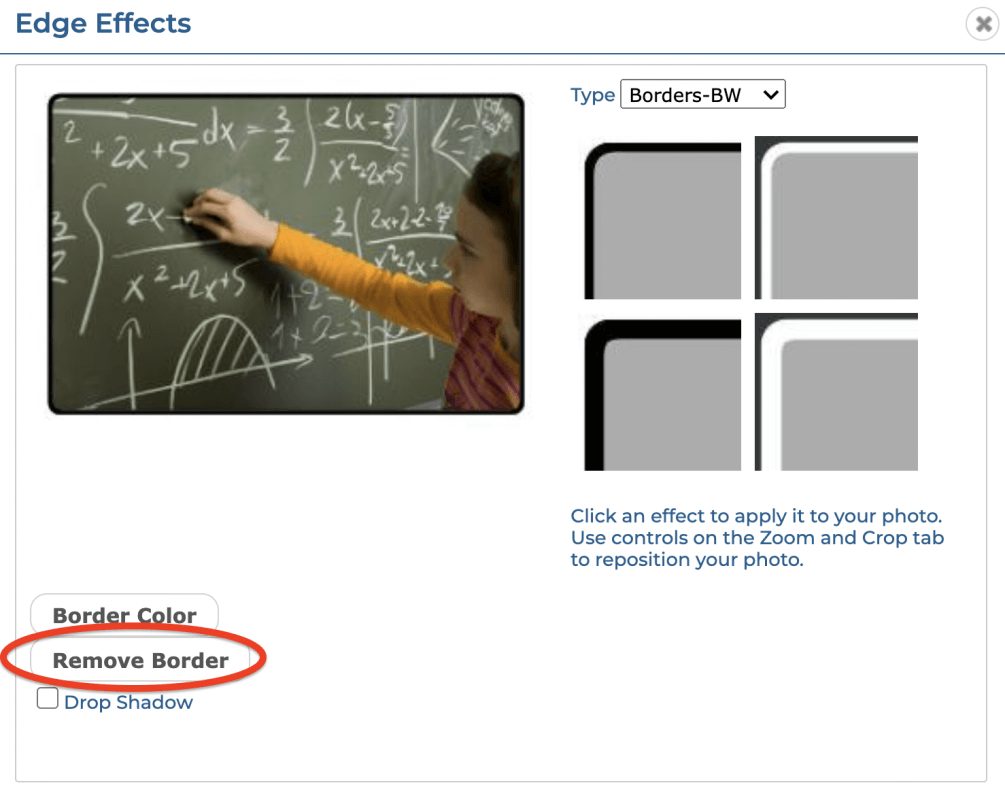
Scroll through the Type menu to browse the available effects. Click on an effect to add it to the preview.
Click Remove to remove the effect or frame.
Click the Apply these settings to all images on the page checkbox to apply the effect to all photos in the current two-page spread.

Click Done to close the dialog and apply the current setting to the photo(s). Click Cancel to close the dialog without applying any changes.