-
Getting Started
-
Navigation
-
Designing Your Book
-
- Adding a Digital Link
- Alerts & Warnings
- Backgrounds
- Layouts
- The Advanced Design Page
- The Main Toolbar
- Trim and Safe Areas
- Working with Candid Photos
- Moving a Photo Or Element On Top Of Or Behind Another
- Removing a Background
- Aligning Text and Images
- Trouble resizing photo frames
- Enlarging Layout & Grid
- Editing Multiple Frames
- Clip Art
- Elements
- Show all articles ( 1 ) Collapse Articles
-
-
-
- Adding Photos From Facebook and Other Photo Sharing Sites
- Candids Tab
- Photo Post
- Photos from Facebook
- Portraits Tab
- Managing Portraits
- Photos Page
- Clip Art Tab
- Uploading to Photo Post
- How to create a file request Dropbox.com folder
- I Uploaded My Own Clip Art. How Do I Place It Onto A Page?
- Why didn't some of my photos show up when I tried to upload them?
-
-
Troubleshooting
-
Submitting for Proofing
-
Content Ideas & Useful Tools
You are here:
Print
The Border Tool
Applying Borders Using the Border Tool

Click on the Borders tool to apply a border the photo. The borders dialog will appear.

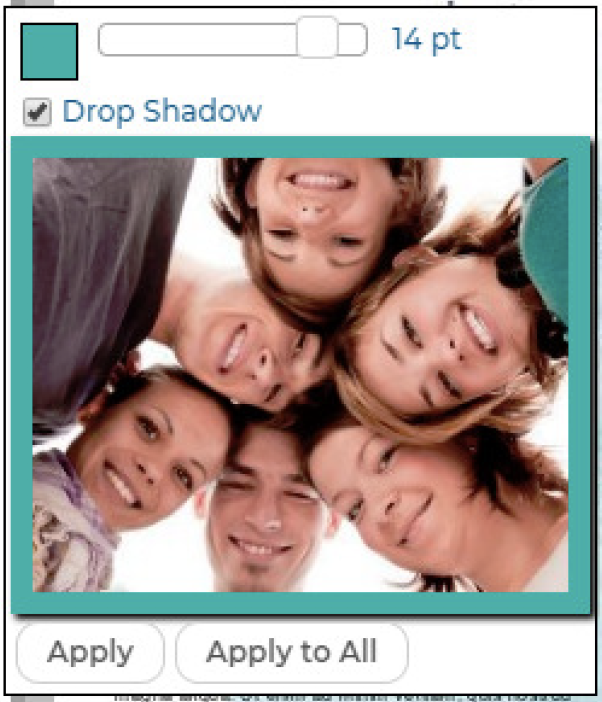
Drag the thickness slider to adjust the thickness of the border.
Click on the color swatch to change the color of the border.
Click the Drop Shadow checkbox to add a drop shadow to the photo.
Click Apply to close the dialog and apply your changes to the current photo. Click Apply All to close the dialog and apply your changes to all photos in the current spread. (Check to make sure this didn’t apply a border to your background if using a custom background you’ve uploaded yourself). Click anywhere outside of the dialog to close it without making any changes.
Article Topics


