Adding/Editing Text
Adding/Editing Text Using the Text Edit Tool

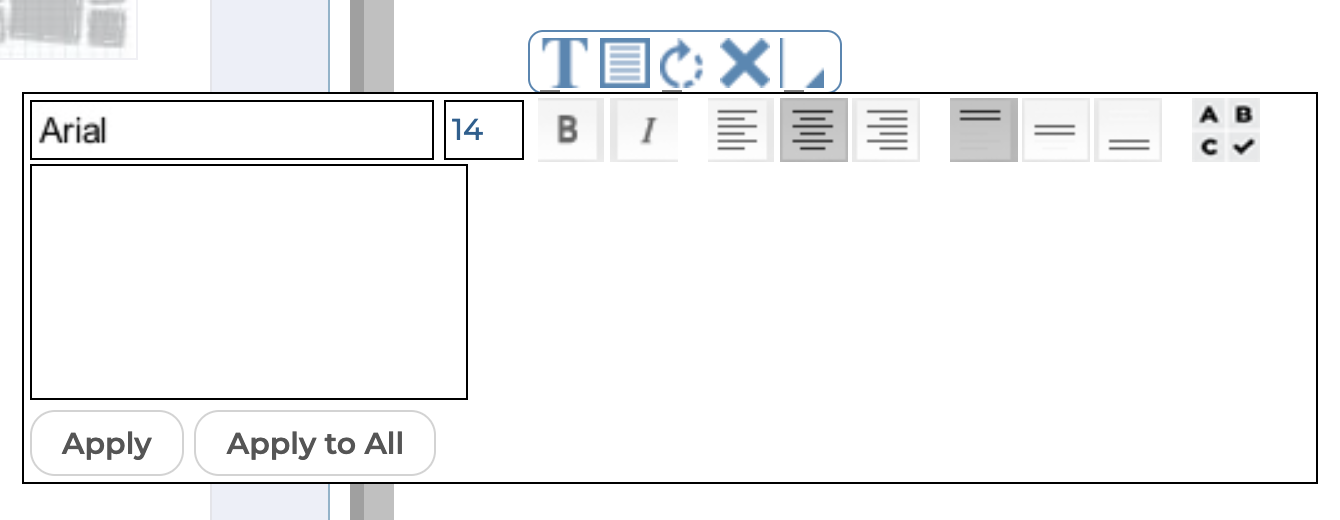
Click on the Text Edit tool to add text to the frame, or edit existing text. The text editing dialog will appear.
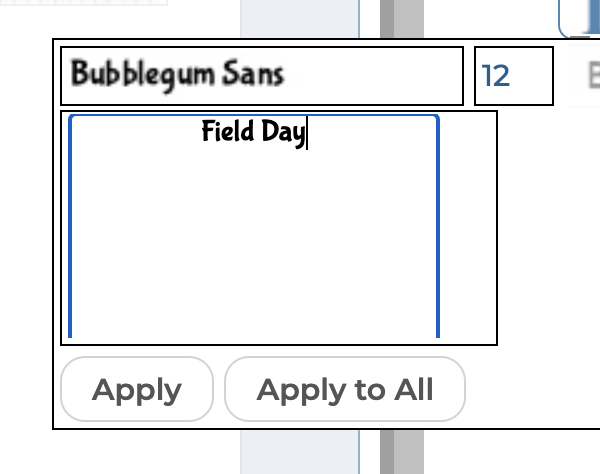
Type your text into the text box.
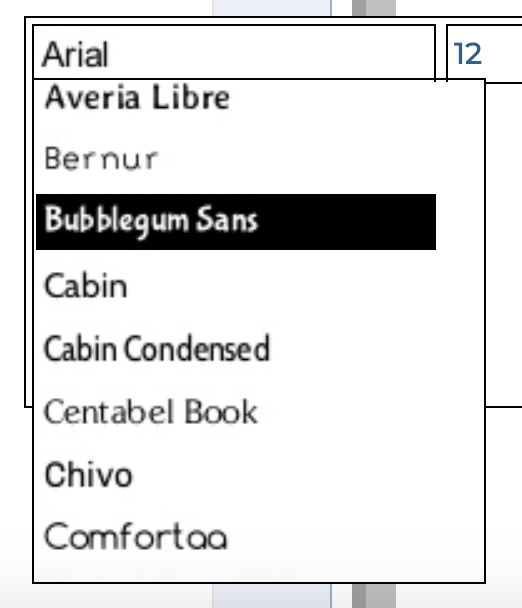
Select from the Font menu to change the font.
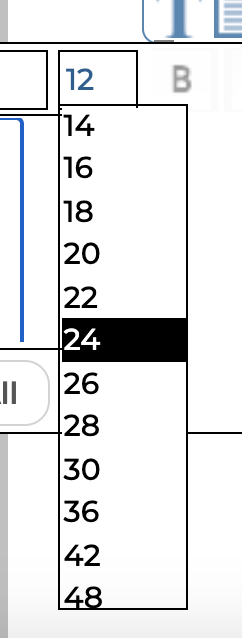
Select from the Font Size menu to change the size of the text.
Click the Bold or Italic button to change the style of the text.
Note: Not all of the available fonts contain styles for Bold and Italic. Therefore these settings may not work for some of the fonts.

Click the Left, Center or Right Alignment button to change the horizontal alignment of the text.

Click the Top, Center or Bottom Alignment button to change the vertical alignment of the text.

Click Apply to close the dialog and apply your changes to the photo. Click Apply All to close the dialog and apply the font changes to all text frames on the page. This will not change the font size in the other frames. Click anywhere outside of the dialog to close it without making any changes.
